A better PHP/TYPO3 development environment - Part 1: Zsh

A good development environment can increase productivity and decrease frustration. For this you need the right tools. My basic development environment at the moment is an Ubuntu 20.04 desktop installation with Zsh, ddev and PhpStorm. In this series of articles I'll show you how to install and configure these tools. You will need a clean Ubuntu 20.04 desktop environment for this. I am assuming you know how to use command line tools and are at least a little familiar with Ubuntu/Linux.
In the first part of this series of articles I will discuss Zsh. As a serious TYPO3 (or any kind of PHP) developer you will spend at least some time on a Linux/Unix/MacOS command line, issuing Composer, git and sass commands, executing TYPO3 CLI scripts, etc. An efficient command line can therefore safe you a lot of typing and time. Zsh is that command line. Combined with the Oh My Zsh framework and several plugins this shell is much more useful for developers than the default Bash shell.
To install Zsh and related components you will first need a few basic tools: git, curl and a text editor (I like to use vim for quick edits from the command line). You can install these tools with the following command.
sudo apt-get install git curl vimNext you can install Zsh itself. This also installs powerline, a tool used to provide statuslines and prompts for Zsh (like git status).
sudo apt-get install zsh powerline fonts-powerlineNext we'll install Oh My Zsh, a framework for managing your Zsh configuration.
sh -c "$(curl -fsSL raw.githubusercontent.com/ohmyzsh/ohmyzsh/master/tools/install.sh)"Now you can edit the zsh configuration file ~/.zshrc to set a theme if you want to. Just change the ZHS_THEME variable. You can check out the available themes here. I like the agnoster theme, so the line looks like this for me:
ZSH_THEME="agnoster"Before actually switching our command line shell to Zsh, we're going to install and activate a few useful plugins. By default only the git plugin is active. To activate other plugins just edit the zsh configuration file ~/.zshrc again and look for the variable ZSH_PLUGINS. You can activate other plugins by adding them to the list with a space between them or on different lines. There are a lot of plugins, many of which come standard with Oh My Zsh. My list currently looks like this:
plugins=(
        git
        jump
        zsh-autosuggestions
        zsh-syntax-highlighting
)
The git plugin shows the branch and status of the git project the current directory is in as part of the command line. So there will be no need for any commands to see which branch you're on or if there are any uncommitted or unpushed changes.
The jump plugin comes standard with Oh My Zsh. It helps you quickly jump to any directory you've marked before. It's really useful to quickly switch between project directories.
The zsh-autosuggestions plugin suggests commands as you type based on history and completions, letting you execute commands by typing part of it. This will make typing in the command line like talking to your best friend, you will only need half a sentence (or less). It is not part of Oh My Zsh, so needs to be installed separately.
git clone github.com/zsh-users/zsh-autosuggestions ${ZSH_CUSTOM:-~/.oh-my-zsh/custom}/plugins/zsh-autosuggestionsThe zsh-syntax-highlighting plugin will highlight commands as you type them. This is also not part of Oh My Zsh, so needs to installed separately.
git clone github.com/zsh-users/zsh-syntax-highlighting.git ${ZSH_CUSTOM:-~/.oh-my-zsh/custom}/plugins/zsh-syntax-highlightingOnce you've installed and activated all the plugins you want to use, you're ready to switch your command line shell to Zsh.
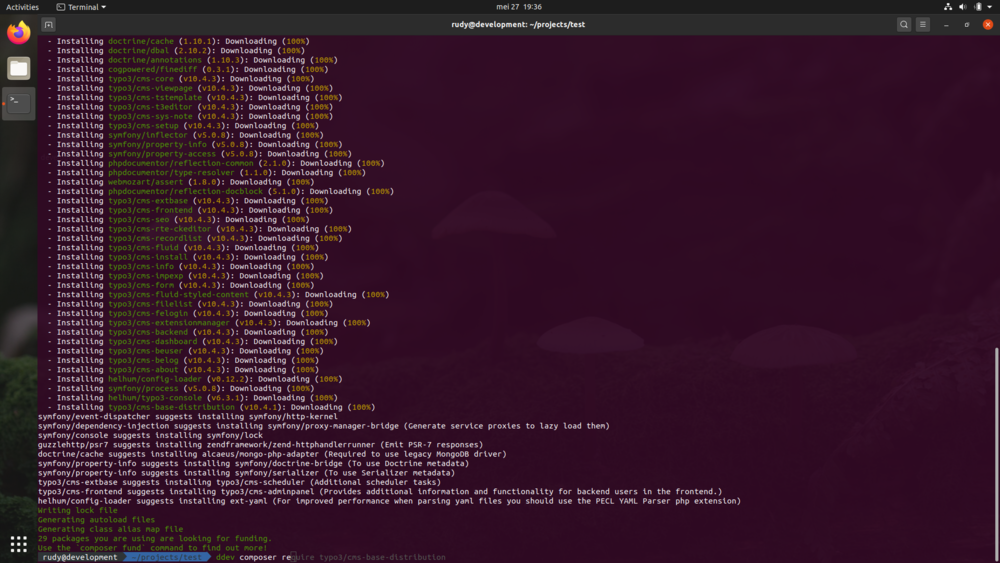
chsh -s `which zsh`Log out and log back in to have it take effect. Your command prompt should look similar to the image above. Enjoy!
In the second part of this series of articles I discuss ddev.


